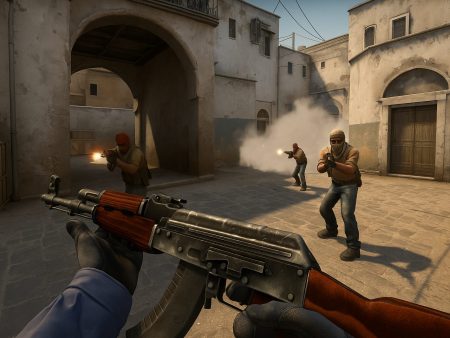
Master the art of bombsite execution in tactical shooters with this in-depth guide. Learn how to coordinate pushes, use utility effectively, trade kills, and dominate post-plant scenarios like a pro.
In tactical shooters like Counter-Strike: Global Offensive and Valorant, executing a bombsite isn’t just about running in guns blazing. It’s a complex, premeditated operation where timing, utility usage, positioning, and team communication can make or break the round. Bombsite execution refers to the coordinated effort of a team to take control of an area (usually labeled as “A” or “B” site), plant the bomb or spike, and hold it until detonation.
What sets apart good teams from great ones is their ability to execute a push with surgical precision. Every player has a role, from entry fraggers to support players throwing utility. It’s a beautiful display of strategy when done right—and an absolute mess when not.
The goal of the execution is not only to enter the site but to do so efficiently, trade kills effectively, clear critical angles, and set up for a successful post-plant. Sounds like a lot? That’s because it is. But when each piece moves in harmony, you create the kind of round that ends up in highlight reels.
Why Proper Coordination is Crucial
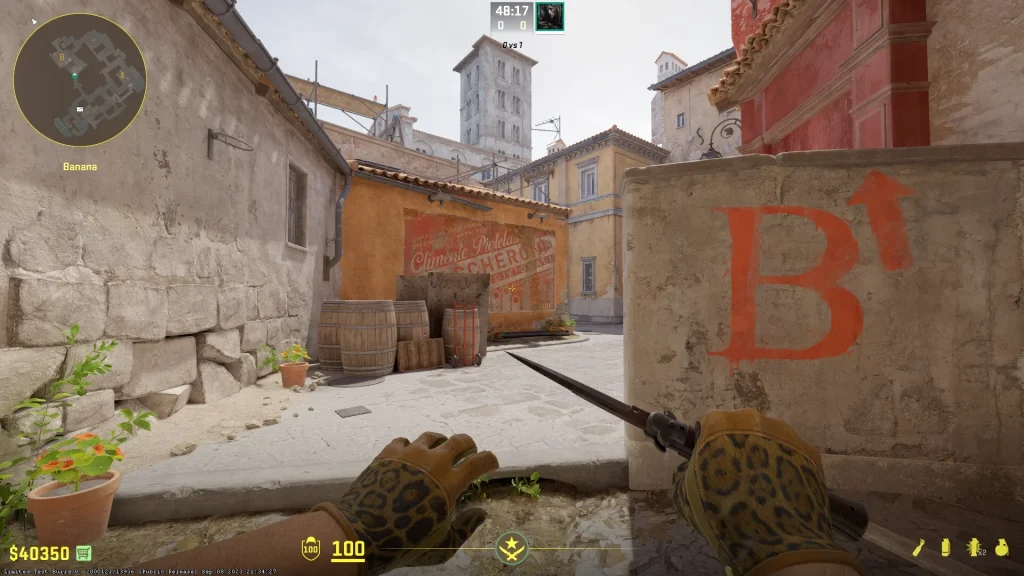
You could have the best aim in your lobby, but if your team pushes into a site one by one or throws utility too early or too late, you’re going to lose the round—every time. Coordination ensures that everyone enters at the right time, flashes go off just before the peek, smokes block off sightlines, and trades happen quickly when someone falls.
Poor coordination leads to chaos. You’ll see smokes fading too early, entry fraggers going in blind, and players getting picked off one by one. The defenders love this kind of mess—it’s easy pickings.
Coordination isn’t just about timing; it’s about trust. When a team trusts each other to execute the plan, it breeds confidence. Every player knows their job, trusts their teammates to cover their angles, and adapts together when things go south. That’s when you start winning not just rounds, but matches.
Pre-Round Planning and Strategy
Defining Roles Within the Team

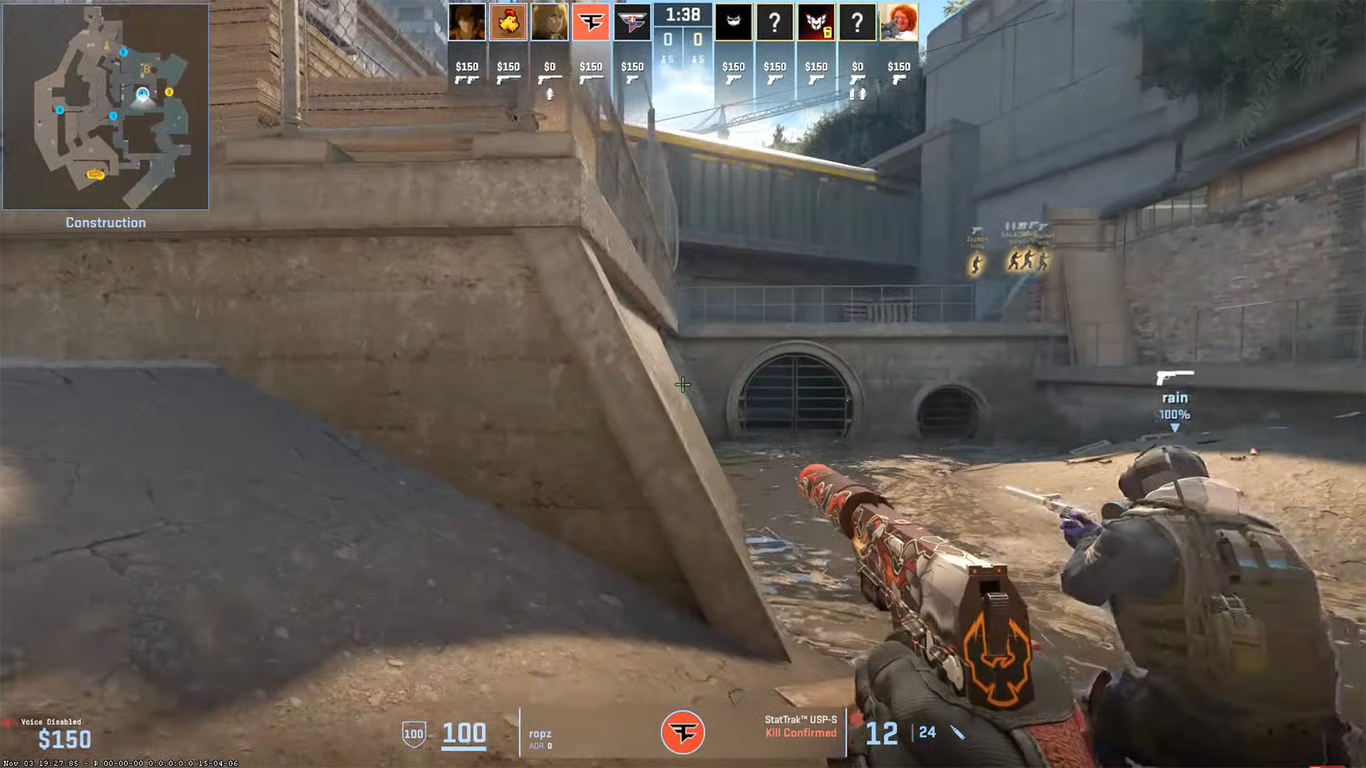
A bombsite execution starts well before the round begins. It starts in the buy phase, where you and your teammates decide who’s doing what. Here are the essential roles for a clean site take:
- Entry Fragger – This player goes in first, tasked with breaking open the site and getting the first kill or drawing attention.
- Support – They stay back and throw utility like smokes or flashes to help the entry fraggers get in safely.
- Lurker – Someone who plays away from the team, potentially catching rotations or flanking.
- IGL (In-Game Leader) – The shot-caller who decides when to execute and what strategy to use.
- Trade Fragger – Right behind the entry fragger, ready to kill anyone who takes out the front line.
These roles can overlap, but having clear assignments before you even leave spawn ensures that everyone knows what they’re responsible for. You don’t want two people flashing the same angle or worse—no one flashing at all.
Coordination here is king. Teams that ignore pre-round planning often walk into bombsites blind, disorganized, and easy to pick apart.
Choosing the Right Bombsite

Not every site is created equal. One round, Site A might be weakly defended; the next, it’s stacked with operators or riflers. The trick lies in reading the enemy.
Is one bombsite consistently weaker than the other? Do they play aggressively on B and passively on A? Are their rotations slow? All of this matters.
A good rule of thumb: attack where they’re weakest, but only if your team is properly prepared to execute there. Sometimes, a fast A-rush works because the defense isn’t expecting it. Other times, a slow default into a B-hit can yield better results.
Information gathering early in the round through probing, fake utility, or lurk players helps determine the right call.
Analyzing Opponent Patterns and Tendencies
The best teams are the ones that adapt. After a few rounds, you should start to see patterns in how the enemy plays. Maybe they always play two on A, one mid, two on B. Or maybe their A-site anchor always hides behind triple boxes.
Start taking mental (or actual) notes. You can use this info to plan your next bombsite hit:
- If they always smoke A main at 1:30, you can delay and push after it fades.
- If their B player uses a molly early, bait it out with a fake push.
- If the same player anchors A every round, consider double-nading their common spot.
Understanding patterns lets you punish predictability, which is a massive edge in any tactical shooter.
Utility Usage and Timing
Smokes, Flashes, and Molotovs – Who Throws What?
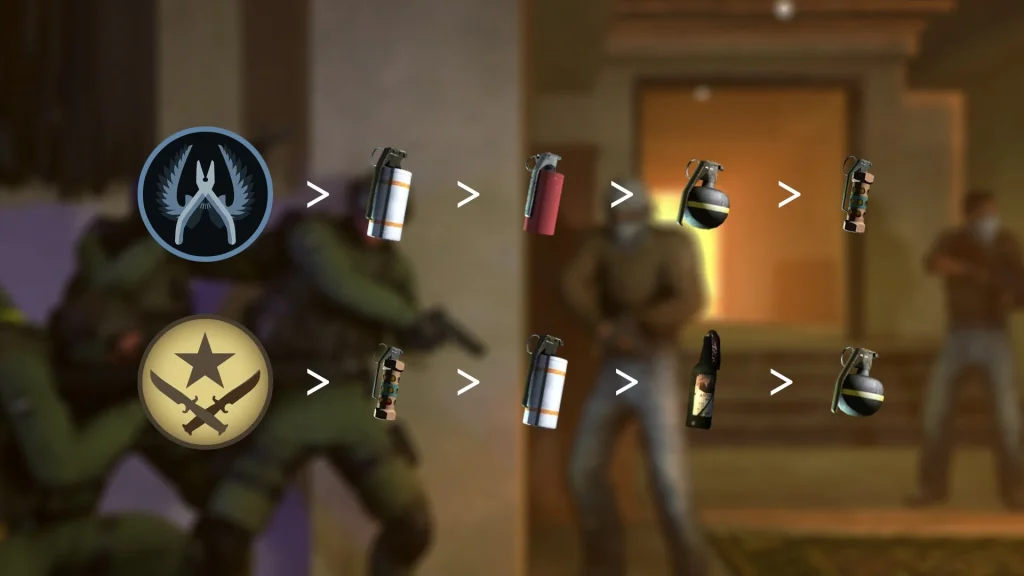
In an ideal world, each piece of utility is used for a specific purpose:
- Smokes block off long sightlines like CT spawn, Heaven, or Operator angles.
- Flashes blind defenders before you peek or enter.
- Molotovs/Nanos clear out common hiding spots like corners or boxes.
But none of this works if people aren’t clear on who’s throwing what. That’s where utility assignments come in.
Before the push, assign:
- Player A: CT smoke
- Player B: Heaven flash
- Player C: Molly under rafters
That way, everyone throws what they need to at the right time, not wasting precious seconds in confusion or hesitation.
Perfect Timing: Avoiding Wasted Utility
Let’s say your smoke lands 10 seconds before your team is even ready to push. By the time you get to the site, the smoke is fading, and defenders are ready with crossfires.
Timing is everything.
Use this general rule: Throw your utility 2–3 seconds before you enter. That gives enough time for it to land and activate, without giving the defenders a chance to reposition or re-smoke.
Also, avoid throwing all your utility at once unless it’s a full send. Sometimes it’s better to fake one site, draw out defensive utility, and then execute on the real site with your full arsenal intact.
Clearing Common Angles with Nades
Molotovs, shock darts, and grenades are your best friend when it comes to clearing annoying corners and angles. Here are some common spots to pre-clear:
- Under Heaven
- Backsite Boxes
- Close Cubby
- Default Plant Spot
If you have a teammate with lineups, even better. The goal is to force defenders out of their safe zones so they’re easier to pick off when the push begins.
Throwing a well-placed nade at a known position might not always get a kill, but it will often force a reposition, creating an opening for your entry fraggers.
Entry Fragging and Trading
Entry Fragger’s Role in Breaking Open a Site
Being the entry fragger is arguably the toughest job on the team. You’re the first through the door, usually facing multiple enemies, and expected to get that opening kill or at least create enough chaos to let your teammates follow up.
A great entry fragger:
- Checks corners with discipline.
- Jumps into unfavorable fights without hesitation.
- Creates space for the team to flood in.
- Doesn’t bait or hesitate.
This player needs raw aim, but more importantly, guts and game sense. You don’t want your entry walking in late or timid—that’s a recipe for disaster. When the entry goes, everyone else must follow immediately to capitalize on the space and avoid getting picked off one by one.
How to Trade Efficiently and Keep the Momentum
Trading kills is one of the most crucial elements of a successful bombsite execution. It’s not just about getting a kill when your teammate dies—it’s about doing it quickly and efficiently, without letting the defenders reset or escape. The moment one of your players dies during a push, a trade should happen within seconds. If it doesn’t, you’re giving the enemy time to fall back, reposition, or worse—shut down the rest of the team with ease.
So how do you make sure your team trades well?
- Stick Together, But Not Too Close
Maintain “trade range”—close enough to instantly react if a teammate dies, but not so close that a single spray or nade takes you both out. - Clear in Pairs or Trios
Always push angles in groups. If the entry goes down, the second player should already have their crosshair trained on the threat. - Communicate Deaths and Locations
The entry fragger needs to call out where they died—“One close left!” or “Behind default!” This gives the second player the chance to get an immediate refrag. - Use Pre-aimed Crosshairs and Utility
You shouldn’t be reacting blindly. Trade fraggers should pre-aim common angles and use utility (flashes, mollies) to assist the entry.
Momentum builds with good trades. One kill leads to another, defenders panic, and the site starts to crumble. But without fast trades, you risk losing control and stalling mid-push.
Mid-Round Adjustments

What to Do When the Push Stalls
Every team has been there. You throw your smokes, entry gets picked, and suddenly everyone’s standing around outside the site unsure of what to do. A stalled push is the death sentence for coordination. Once you lose tempo, defenders rotate in, your utility fades, and your team gets picked apart.
Here’s how to avoid or recover from a stalled push:
- Don’t Hesitate – If the plan was to push after utility, commit to it. Even if one player dies, delaying the push only gives defenders time to reposition.
- Smoke and Flash Again – If your original utility fades, refresh it or use secondary utility to re-initiate.
- Reposition and Regroup – Fall back a few steps, take a breath, and consider a fake or rotate.
- Call Audibles – Your IGL (or whoever’s taking charge) should make a quick call: “Hold for 5 seconds, then re-hit” or “Rotate to B fast.”
Mid-round calls are all about speed and confidence. Even a bad call executed decisively is better than no call at all.
Rotating or Committing – Making the Call
Sometimes, after losing a player or seeing utility dumped on your entry path, you need to decide: Do we commit or rotate?
Here’s a quick decision matrix:
- Commit if:
- You have site control or at least entry into the site.
- You’ve already used most of your utility.
- The defenders have over-rotated to another site (info via lurker).
- Rotate if:
- You’re down a player with no picks.
- The defense dumped counter-utility and you haven’t gained ground.
- Your lurker has info that another site is clear.
The key to rotating is speed and silence. Don’t hang around mid-map or make noise during the rotate. Use your lurker to clear ahead and take control before the defense can set up again.
Stalling too long leads to a last-second, rushed plant attempt—usually ending in disaster.
Executing a Bombsite: Advanced Tips
Layering Utility for Maximum Effect
One flash might blind a single defender. Two flashes, a smoke, and a molly? That clears an entire zone.
When pushing a bombsite, layering utility is about throwing multiple pieces in succession, creating a wall of confusion for the defenders. Imagine this combo:
- Flash A Main
- Smoke Heaven
- Molly Default Plant
- Flash Deep Site
Suddenly, defenders are blind, burning, and can’t see or shoot through smoke. Your entry fraggers get a free pass to take ground, and defenders are forced to fall back or take unfavorable fights.
Just remember—don’t stack your utility. Layer it. Give each piece a second or two to take effect before throwing the next.
Baiting Utility from the Defense
Top-tier teams don’t just run in. They play the long game by baiting out utility first. If defenders use a smoke, molly, or flash too early, it’s useless by the time the real push comes.
Try this:
- Throw a fake flash or smoke to draw out their molly.
- Walk up silently, show presence, and back off.
- Let your lurker make noise at another site to confuse them.
Once their utility is gone, you have a much easier entry path. Baiting is a psychological game—you make them paranoid and wasteful.
Establishing Post-Plant Positions
Setting Up Crossfires and Power Positions
After planting the bomb or spike, your job isn’t over—it’s just begun. A poor post-plant setup can lose you the round. A good one makes the retake almost impossible for defenders.
Crossfires are your first line of defense. Position two teammates where they can both peek the same angle, forcing defenders to fight two people at once. Even if one dies, the second player trades instantly.
Power positions include:
- Heaven (watching cross)
- Default box (for surprise peeks)
- Main or Elbow (for angle control)
- Backsite (for full vision of site)
The goal is to maximize coverage and deny defuse attempts without exposing everyone at once.
Also, if you planted for a specific spot (like Long), make sure someone is watching it. There’s nothing worse than a team planting for Main, then all dying in Site with no line of sight on the spike.
Using Utility to Delay Defuse Attempts
You still have utility after the plant, right? Good. Now it’s time to delay the defuse and waste as much time as possible.
- Mollies/Nanos on the bomb delay defuse for seconds.
- Flashes to blind defusers or peekers.
- Smokes to obscure the site and force panic.
- Shock darts or grenades to force them off the defuse.
Time management is key here. Don’t throw all your utility at once. Time it out in waves:
- First utility: Right after plant (to deny rush)
- Second wave: Around 10–15 seconds left
- Final: As soon as you hear the defuse sound
Just one well-timed molly can win the round, even if you’re down in numbers.
Communication and Teamwork
Calling Out Enemy Positions Accurately
One of the pillars of executing a bombsite successfully is clean, concise communication. During a fast-paced push, it’s easy to fall into the trap of yelling over each other or saying vague things like “He’s over there!” But if you want your team to win rounds consistently, your callouts need to be laser-sharp.
Here’s how to improve them:
- Use Precise Map Callouts
Every map has defined locations—like “Heaven,” “CT,” or “U-Haul.” Use these consistently so everyone knows exactly where the threat is. - Give Player Status
Say things like:- “One CT with AWP, tagged 50”
- “Two Heaven, one flashed”
- “Close left, full HP”
- Don’t Over-Communicate
Don’t scream out five different ideas at once. Keep it short. If you die, say where, with what, and how much damage you dealt. - Prioritize Urgency
“One flanking fast” takes priority over “I think I heard something mid.”
When callouts are on point, your team can act faster and smarter. You avoid being surprised, and your trade potential skyrockets.
Trust and Synergy Between Teammates
You can’t coordinate a site push if you don’t trust your teammates. If you hesitate because you’re not sure someone is going to flash for you or smoke a vital chokepoint, your execution falls apart.
Trust and synergy are built through:
- Consistent practice – Play with the same group and rehearse roles and strats.
- Reviewing replays together – Look at what worked and what didn’t.
- Open communication – If someone messed up a smoke or rushed too early, discuss it without flaming.
Team chemistry is often the secret weapon of high-level teams. You start to predict each other’s moves, which leads to cleaner trades, better pushes, and more round wins.
Dealing With Eco and Force Buy Rounds
Adjusting Execution Style Based on Economy
Pushing a bombsite when the enemy is on eco (pistols only) or force buy (low weapons but armor) requires different execution strategies. Many teams fall into the trap of treating every round the same, but economy changes everything.
Against eco rounds:
- Expect close-range stacks or ambushes in tight corners.
- Use mollies and grenades to clear those angles.
- Push together—don’t give them 1v1s.
Against force buys:
- Expect Deagles, shotguns, or SMGs hiding in off-angles.
- Utility becomes even more important—one misstep, and you get one-tapped.
- Play slower and force them to use their utility or give away positions.
You must adapt your execution based on what weapons and economy the defenders are likely working with. Don’t just “run it down” assuming it’s a free round.
Avoiding Common Mistakes in Eco-Round Pushes
Eco rounds are where bad habits get punished. Here’s what NOT to do:
- Don’t split up – You give isolated 1v1s to pistols.
- Don’t skip utility – Even if they’re on eco, they can punish lazy clears.
- Don’t get greedy – Avoid chasing kills or farming frags. Stick to the plan.
Treat every round like a gun round, and you’ll avoid embarrassing losses that swing the momentum in your opponent’s favor.
Common Mistakes and How to Avoid Them
Lack of Entry Timing
One of the most common reasons bombsite pushes fail is poor entry timing. If your entry fragger goes in and the rest of the team is still mid or throwing utility, they get isolated and picked off.
Fix it by:
- Counting down before the push: “3…2…1…GO.”
- Practicing synchronized entries in scrims.
- Using utility in sync with the entry—not before, not after.
A half-committed push is worse than no push at all.
Overcommitting to a Failed Site
Another massive mistake is sticking with a site hit that’s clearly falling apart. If your entry dies, the lurker gets picked, and utility is gone—why are you still pushing A?
What to do instead:
- Call the rotate quickly.
- Leave a player to fake presence.
- Fall back and regroup mid or hit the opposite site.
Forcing a failing push just feeds the defenders.
Analyzing Pro-Level Site Executions
Case Study: Classic A-Site Hit on Mirage
Let’s break down a well-known A-site execute on Mirage:
Roles:
- Two players A Ramp
- One Palace
- One Mid (Lurker)
- One Tetris (Support)
Utility Plan:
- Smoke CT, Jungle, and Stairs
- Flash over Tetris
- Molotov under Balcony
- Palace player peeks on flash
Result:
- CT is isolated
- Balcony is cleared
- Rotations are cut off
- Site is overwhelmed
Pro teams drill this until it’s muscle memory. Every piece of utility lands on time, every player pushes with confidence, and post-plant is already planned.
Breaking Down the Team’s Communication
What’s happening on voice comms during a pro execute?
- “Flashing now—peek!”
- “Mollying default, one CT”
- “CT dead, planting for ramp”
- “Watching Jungle, someone hold flank”
There’s no screaming, no hesitation—just fluid information that lets everyone play their role perfectly.
Conclusion: Mastering the Art of the Push
Executing a bombsite is a symphony of utility, communication, timing, and trust. It’s not about charging in blindly—it’s about crafting a moment where everything clicks. You don’t need to be a pro to pull it off. All it takes is a plan, discipline, and solid teamwork.
Remember:
- Plan the push before the round starts.
- Assign utility and entry roles clearly.
- Communicate effectively, especially post-plant.
- Practice the timing and utility setups until they’re second nature.
- Learn from every failed push.
You’ll start winning more rounds not because your aim got better, but because your team became a cohesive unit. And that’s the real victory.
FAQs
What’s the most important role during a site execute?
While every role matters, the entry fragger is arguably the most critical during the initial push. They create the first opening and set the tone for the rest of the round.
How can I improve team coordination during executes?
Start by assigning roles, practicing utility usage, and reviewing failed rounds together. The more you play and communicate, the better your synergy becomes.
Should we always commit to a site after throwing utility?
Not necessarily. If the execution isn’t working—bad trades, no space gained—be ready to fall back or rotate quickly. Flexibility wins games.
How can we practice bombsite executions?
Use custom servers or scrims to rehearse smokes, flashes, and timing. Watch pro demos and recreate their setups to understand how top teams do it.
What if one teammate messes up their utility?
Don’t panic. Adjust on the fly—use backup utility or change the push plan. Always have a second line of defense for failed nades or missed timings.
