Discover the best beginner-friendly CS2 maps to learn first. Master layouts, callouts, and strategies on Dust II, Mirage, Inferno, Nuke, and Overpass with this detailed guide for new players. Perfect for improving your map knowledge and gameplay fast.

Why Map Awareness Matters in CS2
In Counter-Strike 2 (CS2), raw aim can only take you so far. You could have the sharpest crosshair placement and lightning-fast reflexes, but if you don’t know where you’re going or where enemies are likely to be, you’re basically running around blind. That’s why map awareness is one of the most essential skills to develop early. For new players, understanding the layout of a map — where choke points are, where to expect enemies, and how to move safely — will boost your win rate dramatically.
Map knowledge allows you to anticipate enemy movement, plan strategies, communicate effectively with your team, and even control the flow of the game. Think of it like playing chess: you need to understand the board to make strategic decisions. In CS2, the map is your board, and if you don’t know it well, you’ll always be a few steps behind your opponent.
How Maps Influence Game Strategy and Progression
Every map in CS2 has a unique layout that shapes how each round unfolds. Some maps, like Dust II, are very open and straightforward, encouraging aim duels. Others, like Nuke, use complex levels and verticality to test your spatial awareness and timing. For beginners, understanding the nuances of each map is the difference between confidently pushing a site or getting picked off while wandering into a common angle.
Strategies change depending on the map. A successful flashbang throw in Inferno might do nothing in Mirage. Bomb sites may be easy to hold on one map and nearly impossible on another without good coordination. Learning one map thoroughly lets you build a strong foundation before expanding to others.
What Makes a Map Beginner-Friendly?

Simplicity of Layout
Beginner-friendly maps are typically those with clean, symmetrical layouts. You shouldn’t need a mini-map open all the time to figure out where you are or where to go. Maps like Dust II and Mirage excel here because their mid-sections clearly divide the map, and rotations between sites are relatively simple.
When starting out, a map should teach you fundamentals — how to control angles, how to hold a site, and how to rotate based on audio and callouts. Complex maps with too many levels, tight corridors, or confusing routes tend to frustrate beginners more than help them learn.
Clear Choke Points and Bomb Sites
A good beginner map clearly defines its choke points — these are areas where the attacking team and defending team usually clash. Dust II’s “Long A”, Mirage’s “Mid”, and Inferno’s “Banana” are perfect examples. These areas become regular battlegrounds and teach players how to smoke, flash, and fight around corners.
Clear bombsite visibility is also key. If a new player walks into a site and can’t immediately tell where to plant or defend, that’s a problem. Beginner maps offer intuitive bombsite layouts where both CTs and Ts understand their roles quickly.
Easy Callouts and Communication Flow
Callouts are the language of CS2. If you’re on a team and someone says, “One pushing Short A!” you better know where that is. Maps with well-established, logical callouts make team communication easy to pick up. Dust II’s iconic callouts like “Catwalk,” “Long,” “Tunnels,” and “B” are so common they’ve become part of gaming culture.
For a map to be beginner-friendly, it should encourage communication rather than complicate it. When learning, stick to maps where callouts are easy to remember and reference.
1. Dust II – The Timeless Classic
Overview of Dust II Layout
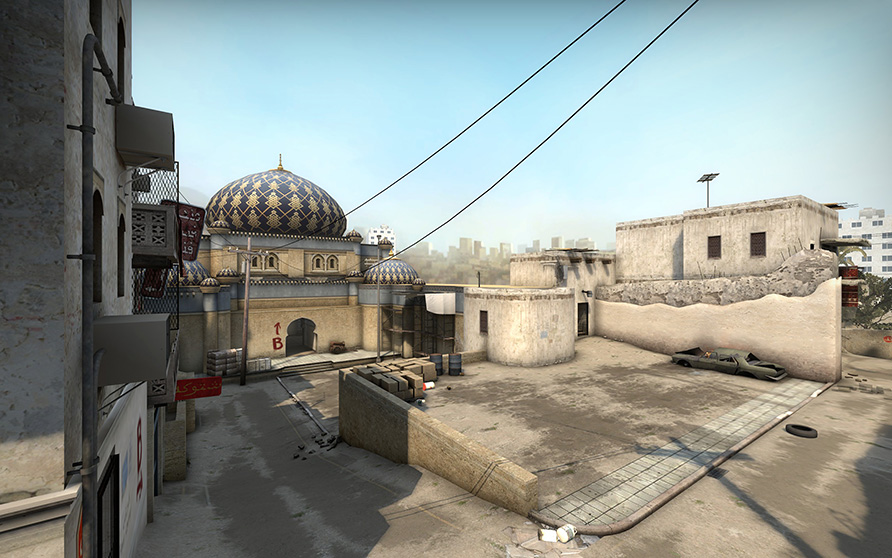
Dust II is the legendary Counter-Strike map — so iconic that it hasn’t needed major reworks in decades. It features a symmetrical layout that’s easy to understand. Two bomb sites (A and B), connected by Mid and Long A, with tunnels connecting the T-side spawn to B. The simplicity of Dust II makes it the first map every new player should master.
The map’s main areas include:
- Tunnels leading to B Site
- Catwalk (Short A) going toward A Site
- Long A for direct A Site access
- Mid for rotations or aggressive plays
From a learning perspective, every route has a purpose, and you can start learning how to play roles — entry fragger, AWPer, anchor — just on this one map.
Why It’s Great for Beginners
What makes Dust II perfect for beginners is its straightforward design. There’s very little verticality, rotations are fast, and fights are usually clean aim duels. You don’t need to memorize complex callouts or angles. Instead, you can focus on learning core skills like:
- Crosshair placement
- Holding and peeking angles
- Throwing simple smokes and flashes
- Using sound cues to predict enemy movement
Dust II also gives you space to make mistakes. The map is wide open, so if you overextend, you’ll learn quickly without being instantly punished every time. Plus, because it’s so commonly played, you’ll always find matches, making it ideal for grinding.
Essential Spots and Callouts to Learn
To get started with Dust II, focus on these essential areas:
- Tunnels – Learn to check corners and hold B from here.
- Mid Doors – A key location for CTs and Ts. Practice pre-aiming this angle.
- Catwalk – Short route to A Site. Learn basic smokes and flashbangs.
- Long A – Great for long-range duels. Learn to throw long flashes and fight for control.
- A Site & B Site – Understand plant spots and defend/retake positions.
One quick tip: Practice a simple smoke for CT spawn from Mid or a flash for Long A pushes. Small bits of utility knowledge on Dust II go a long way.
2. Mirage – The Balance Between Strategy and Simplicity
Key Features of Mirage
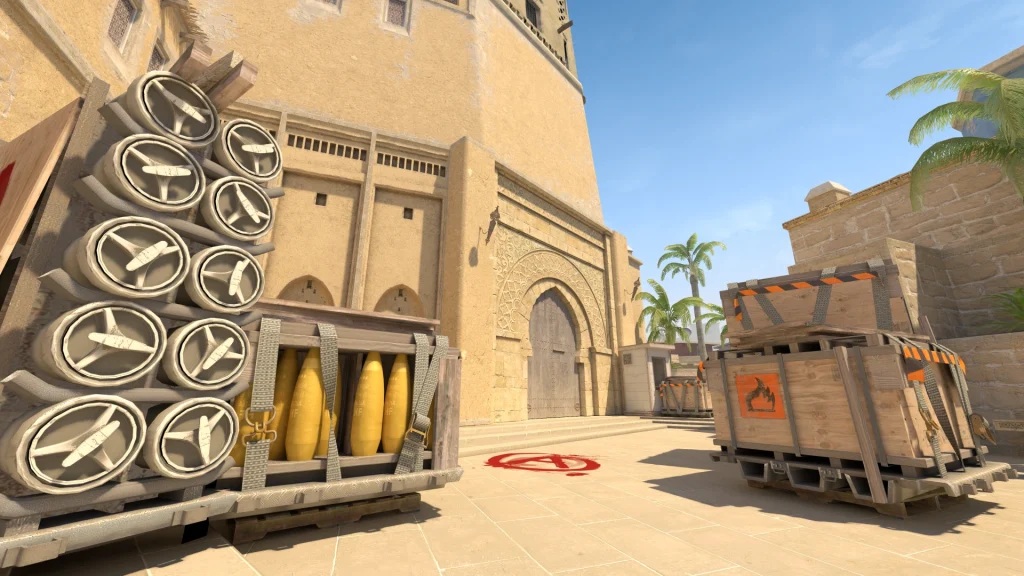
Mirage is another community favorite — and for good reason. It strikes a perfect balance between being accessible and offering room for strategic growth. With its open Mid section, multiple paths to each bomb site, and defined control zones, Mirage teaches players how to read the game and control tempo.
Important areas on Mirage include:
- A Site with Tetris, Palace, and Jungle
- Mid which offers connectors to both A and B
- B Site accessed through Apartments
- Underpass for sneaky plays
How Beginners Can Excel on Mirage
Mirage teaches map control more than most beginner-friendly maps. The Mid area is a key point of contention, and learning how to use smokes to block vision (Window, Connector, Top Mid) will dramatically increase your win potential.
As a beginner, focus on these skills:
- Controlling Mid – This is the heart of Mirage. If you control Mid, you control rotations.
- Learning Simple Executes – A Site smokes from T spawn (Stairs, Jungle, CT) are a great place to start.
- Communication – Mirage makes callouts intuitive. “Palace”, “Ramp”, “Connector” — they all make visual sense.
Also, practice holding angles as CT from spots like Ticket Booth, Market, and Catwalk. These defensive spots are forgiving but teach you to hold your crosshair properly.
Beginner Mistakes to Avoid on Mirage
- Ignoring Mid – Too many beginners rush A or B without trying to control Mid. Don’t skip this part.
- Not Using Utility – If you’re not smoking Window or flashing Mid, you’re doing it wrong.
- Tunneling Through One Route – Try to mix your strategies. Don’t always go Ramp on A. Use Palace, Mid, and Underpass.
3. Inferno – Learning Map Control and Timing
Understanding the Narrow Lanes and Choke Points
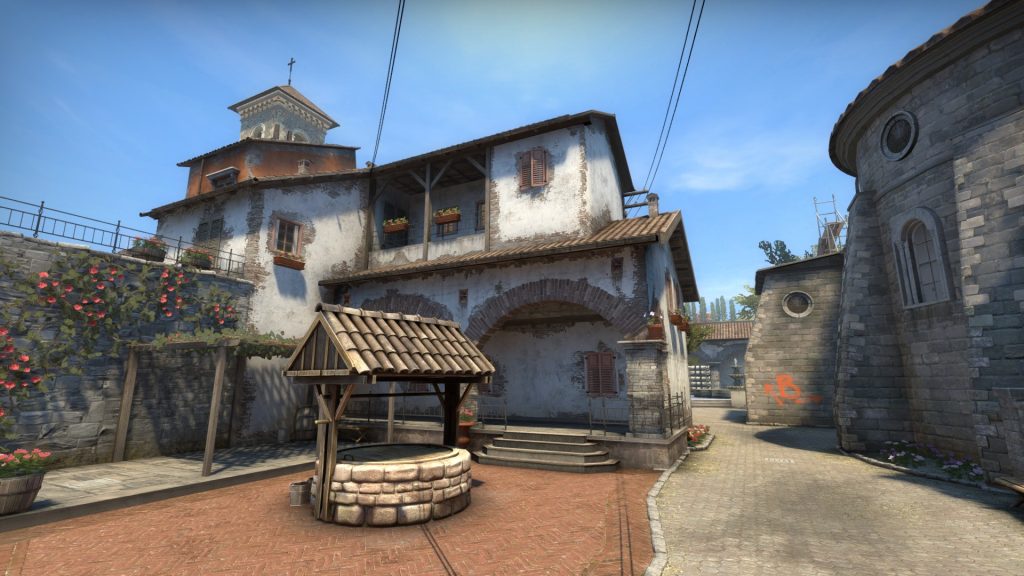
Inferno is a classic CS map that emphasizes tight corridors and control of choke points. Unlike wide-open layouts, Inferno forces you to think about positioning and timing carefully. The major choke points you’ll want to master are:
- Banana — the curved pathway linking T spawn and B site
- Mid / Apartments — the route to A via apartments
- Alt Mid / Library — sometimes used for rotations
- CT Spawn — critical for retakes and rotations
These narrow pathways mean that controlling utility (smokes, flashes, molotovs) is absolutely pivotal. Also, timing becomes more critical: pushing too early or late can cost you control of the lane or site.
As a beginner, one of your first goals on Inferno is to get comfortable navigating Banana and Apartments — these are high-traffic routes and where many duels occur.
Banana, Apartments, and Other Important Zones
- Banana
Banana is almost a mini-map in itself. Many rounds see battles here. Smokes and molotovs are routinely used to block vision or flush out defenders. As a T, pushing Banana often leads to B site control or forcing CTs off B. As CT, holding Banana early with utility is standard. - Apartments / Mid to A
For T side, pushing through Apartments gives direct access to A site. Learning how to clear corners in Apartments, how to use flashbangs over walls, and how to move quietly are important. On CT side, holding from Balcony, Pit, or short A gives you leverage to contest site pushes. - Library / Alt Mid
While less frequently used, this path can surprise opponents. It’s useful for rotating or splitting A site pushes when executed properly. - CT / Spawn and Rotations
Understanding how CTs rotate from CT spawn to sites, and how T-side can delay or manipulate those rotations, is central. For instance, a good Banana fake can tie up CTs, giving your team time to push A via Apartments.
Basic Smoke and Flash Strategies
Here are a few simple utility ideas for Inferno that beginners can start using:
- Banana Smoke & Molotov
A smoke at the top of Banana can block off CT vision. A molotov in the corner denies passive holds (e.g. “Dark” or “Car”). - Mid to A Smokes
You can smoke Mid / Library to block CT line of sight when pushing A. Also a smoke between Apartments and Balcony helps reduce angles. - Flashbangs Over Apartments / Over the Wall
Use pop flashes into A site from Apartments to blind defenders on site or in Pit. Practice tossing them just high enough to flash over. - B Site Execution Smokes
A smoke at CT / Coffins is useful. Also smokes for Market Window / New Box help shield entry.
As you become more comfortable, you’ll expand your utility repertoire. But starting simple on Inferno helps you internalize how much power utility has in tight maps.
4. Nuke – Understanding Verticality and Rotations

The Unique Vertical Design of Nuke
Nuke stands apart from most maps thanks to its heavy use of multiple levels (upper and lower), vents, and vertical traversal routes. This verticality is challenging but also forces you to think in three dimensions — not just left, right, and forward, but also up and down.
Key zones include:
- Upper Bomb Site (A)
- Lower Bomb Site (B) / Silo area
- Ramp / Halls connecting upper and lower
- Vents / Secret route
- Outside / Yard area
As a beginner, Nuke will push your spatial awareness. You’ll need to train your brain to check both levels, monitor flanks from vents, and think about rotations not just across horizontal ground but vertically.
Beginner Tips for Navigating Upper and Lower Bombsites
- Always check below/above — when entering a site, you can’t assume enemies are only on your level.
- Use vents / secret route — moving quietly through vents can catch opponents off guard or give alternate paths for attack or rotation.
- Learn rotation paths — moving between upper and lower via Ramp, Squeaky, or Halls is fundamental. Know how to travel these routes without exposing yourself unnecessarily.
- Split pressure — due to verticality, you can pressure from above while teammates push from below, creating crossfires that are hard to defend.
Easy Utility Usage for Beginners
Because angles in Nuke are often overlapping, using utility smartly is crucial:
- Smoke outside / yard to block AWPs or defenders covering yard.
- Flash over roof / squeaky door when pushing into upper.
- Molotov toxic or vent room to clear common hiding spots.
- Use decoy grenades or HE grenades to force defenders out of tight corners.
Start with smokes and flashes that you find straightforward, then expand your utility map as you grow more confident.
5. Overpass – Mastering Long Ranges and Flanks
What Makes Overpass Challenging but Rewarding
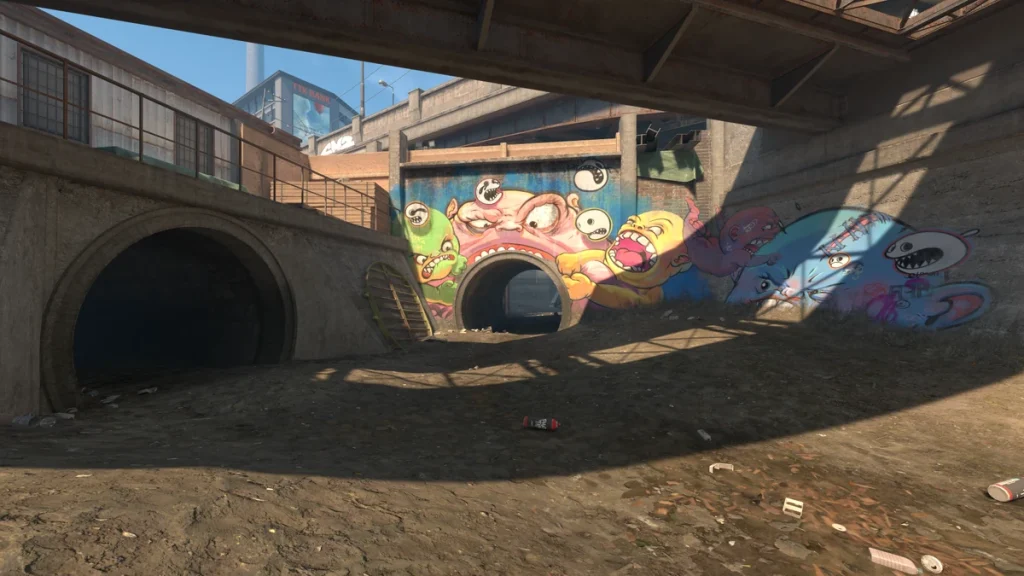
Overpass is a longer-range map with ample opportunity for flanks, rotations, and verticality (especially around the connector / water area). It rewards map control and movement discipline. The layout encourages fights at mid, connector, and controlled aggression from multiple angles.
For beginners, Overpass offers:
- Strategic depth through rotations and flanks
- Map control via mid / connector
- Multiple approaches to bombsites
While Overpass is slightly harder than Dust II or Mirage, it’s still considered accessible enough to help learners expand map variety without overwhelming complexity.
Key Spots to Hold and Push
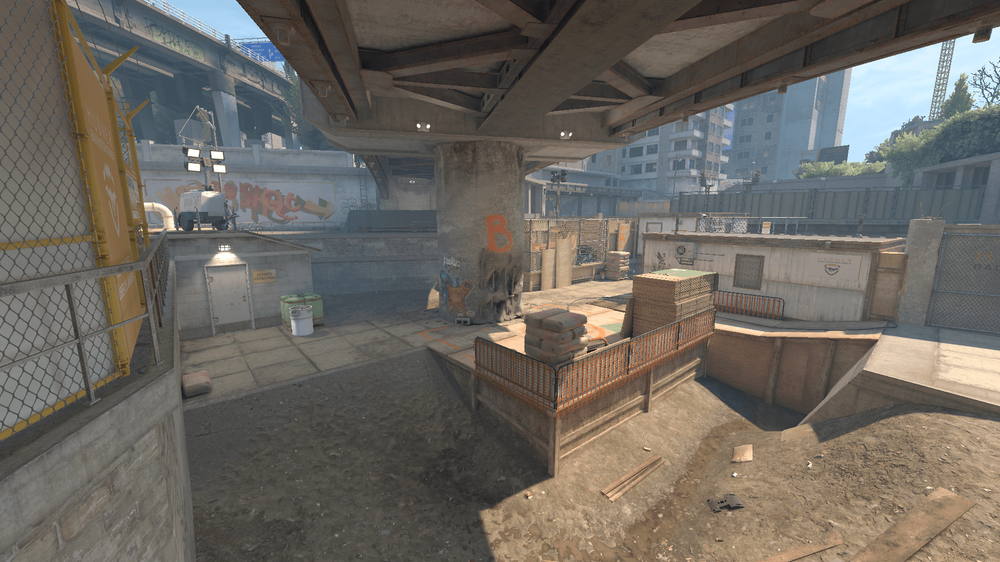
- Connector / Mid area — dominating this region lets you pivot between A and B efficiently.
- Long (to B site) — long-range duel area.
- Bank / Monster tunnel (to A) — alternative path to A site.
- Bathrooms / Short path (to B) — flanking positions.
- Playground / Water — used in B site approaches and rotations.
As a T, you may push through Connector to B, or Long to pressure B site. As a CT, holding Connector, Long, or Monster is often the first priority.
Map‑Specific Tips for CT and T Sides
On CT Side:
- Control Connector / Mid — losing mid often results in forced rotations.
- Hold Long / Monster tightly — many B pushes come from Long.
- Be ready to flank / rotate via CT spawn or Water.
On T Side:
- Use smokes for Connector / Monster — block CT vision.
- Stretch CT defense by faking A, then rotating quickly.
- Push Long to B with utility, then pivot through Connector.
Because Overpass can feel “spread out,” good communication and map awareness are vital.
Tips for Practicing and Mastering CS2 Maps
Best Game Modes to Practice Map Knowledge
If you’re trying to get good at CS2 maps, the best way isn’t always jumping into competitive right away. Different game modes help you build different skills. Here’s a breakdown of how to use each:
- Deathmatch – Perfect for learning angles and improving aim. Focus on holding key spots from each map like Mirage’s Window or Dust II’s Long A.
- Casual – Less pressure than competitive. Use this to explore maps and experiment with routes, utility, and callouts.
- Competitive – This is where your skills are truly tested. Only play competitive on maps you feel 60–70% comfortable with.
- Wingman – Great for close-range duels and learning parts of the map. You can focus on fewer areas with intense engagements.
- Custom Server with Bots – Best for solo exploration. Walk around, practice grenade throws, and learn rotations without distractions.
Each mode has its benefits. If you’re still shaky on layout, spend more time in bots or casual until you build confidence.
Useful Tools and Workshop Maps
CS2’s workshop is full of excellent community-created tools to help you practice smarter. Some must-haves include:
- YPrac Maps – These are training maps tailored for individual CS2 maps. You can practice smokes, flashes, and site holds.
- Aim Botz – While not map-specific, this is perfect for improving crosshair placement before diving into matches.
- Training Maps with Callouts – These overlay names on various map areas so you can connect visual zones to callouts faster.
- Recoil Master – Helps you practice weapon control in combination with angle peeking on specific maps.
Pair these tools with YouTube guides and you’ll start seeing improvements faster than just solo queuing all day.
Playing with Friends vs. Solo Practice
Learning maps with friends can be incredibly valuable. Here’s why:
- Callout Practice – You can practice real-time callouts and understand how your team responds.
- Strategy Testing – Try coordinated site takes or holds without random teammates derailing plans.
- Map Exploration Together – You’ll remember better when learning with others — they may show you paths or lineups you’d miss alone.
But solo practice isn’t useless — it forces you to problem-solve and sharpen awareness. Ideally, mix both approaches. Play with friends when available, but grind solo queues or training maps consistently to reinforce what you’ve learned.
Common Beginner Mistakes Across All Maps

Over-Rotating and Poor Communication
One of the most common beginner errors is over-rotating. This happens when you panic after hearing footsteps or gunfire and leave your post too early. Instead of staying disciplined and holding your position, you rotate — only to leave your site wide open.
Here’s how to avoid it:
- Wait for confirmation – Don’t move unless your teammates confirm the push is real.
- Call before leaving – Always tell your team, “I’m rotating,” so someone can cover your spot.
- Trust the plan – If you’re anchoring B, stay until it’s absolutely necessary to rotate.
Also, lack of communication ruins coordination. If you get picked off but say nothing, your team doesn’t know to adjust. Speak up — even a quick “1 Banana, low HP” gives valuable intel.
Misusing Utility
Beginners often waste grenades or throw them at the wrong time. Common examples include:
- Throwing a smoke with no purpose – Don’t throw just because you have it. Use it to block vision, delay a push, or support a teammate.
- Flashing teammates – Always call out flash throws (“Flashing over!”) and practice angles that don’t blind your team.
- Wasting molotovs too early – Save molotovs for choke points when you expect a push, not randomly at round start.
Effective utility usage wins rounds. Watch pro players or tutorials to learn a few set lineups and their logic.
Neglecting Sound and Timing
Sound is EVERYTHING in CS2. Running loudly near enemies gives away position. Firing unnecessarily also alerts others. Timing also matters — rushing too soon or too late can throw off coordinated attacks.
Beginner tips:
- Walk unless you’re rushing – Shift-walking keeps you silent.
- Listen for enemy footsteps – If you hear movement, don’t peek aggressively.
- Avoid predictable timings – Mix up when you peek or push so you’re harder to read.
Treat CS2 like a chess match mixed with hide and seek — every sound and step gives away critical info.
How to Track Progress and Improve on Maps
Using Replays and Demo Reviews
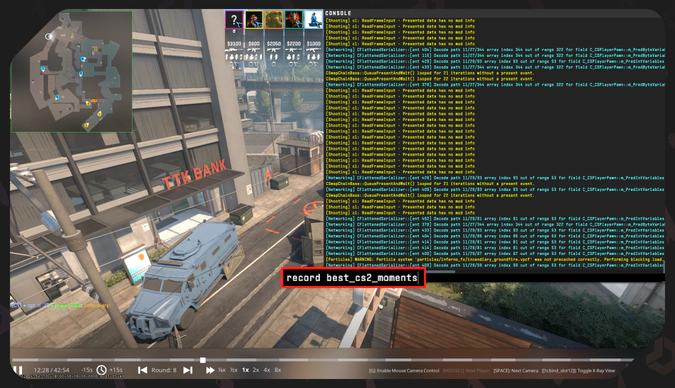
CS2 has a powerful replay system that beginners rarely use — but should. Watching your own demos is one of the fastest ways to improve.
What to look for:
- Positioning errors – Did you expose yourself needlessly?
- Aim mistakes – Were you aiming at chest level or head level?
- Utility usage – Did your smokes actually help? Were your flashes effective?
Also, observe where enemies killed you from. If it keeps happening from the same spot, you’ve found a weakness to fix.
Watching Pros and Copying Tactics
Pro CS2 players play on the same maps as you — they just use them better. Watching how they approach a site, where they hold, and how they throw utility is incredibly valuable.
To get the most from watching pros:
- Pick a map you’re learning (e.g., Mirage)
- Watch 2–3 pro games on that map
- Take notes on where they go, how they use utility, and what they do differently
You’ll be surprised how much you can copy — especially easy lineups and holding angles with better discipline.
Setting Small, Achievable Map-Specific Goals
Improvement happens fastest when it’s intentional. Instead of just playing over and over, set targeted goals.
Examples:
- Learn 3 smoke lineups for A site on Mirage
- Hold B site for 3 rounds without dying
- Rotate between A and B correctly based on teammate callouts
Small wins build into larger improvements. Treat CS2 map mastery like a gym workout — consistent, focused reps are more important than random effort.
Conclusion
Learning CS2 as a beginner can feel overwhelming at first — the fast pace, the complex strategies, and especially the endless callouts and maps. But starting with the right maps makes all the difference. Dust II, Mirage, Inferno, Nuke, and Overpass are not just community favorites — they’re essential classrooms for any new player.
Dust II helps you build raw aim and movement. Mirage introduces map control and team coordination. Inferno teaches timing and utility. Nuke challenges your spatial awareness with its vertical design. Overpass pushes you to master rotations, flanks, and long-range battles. Together, these maps are the foundation of most pro matches and casual lobbies alike.
The key isn’t to rush and try mastering all maps at once. Pick one or two, play them repeatedly, explore them with friends, watch demos, and don’t be afraid to make mistakes. Use every round — even the losses — as a learning experience.
Mastery in CS2 doesn’t come from memorizing every detail; it comes from understanding the game’s flow, using your tools wisely, and adapting as the match unfolds. Start with these beginner-friendly maps, and you’ll not only get better — you’ll start enjoying the game in a whole new way.
FAQs
Which CS2 map should I start with as a complete beginner?
Start with Dust II. It’s the simplest map to learn, with a clean layout, easy callouts, and frequent play in casual and competitive modes. You’ll get lots of practice and exposure to typical fights and rotations without being overwhelmed by complexity.
How many maps should I focus on learning at once?
Begin with one or two maps, max. Mastering a single map helps you understand key game mechanics, callouts, and strategies deeply. Once you feel confident on that map, move on to the next. Quality > quantity.
Is it better to play against bots or real players when learning maps?
Both have value. Start with bots to explore map layout, grenade practice, and positions. But real players teach you how the map is actually played — how people peek, rotate, and use utility. Use bots for fundamentals and humans for application.
Are custom maps helpful for learning?
Yes, very much so. Workshop maps like YPrac or Aim Botz are goldmines for utility practice, aim training, and map-specific drills. They can dramatically accelerate your learning curve by isolating skills in controlled environments.
How long does it take to master a CS2 map?
It depends on how often you play and how focused your practice is. For most beginners, you’ll see solid improvement in 2–4 weeks of focused play (a few hours each week). Full mastery — knowing utility lineups, timing, and adapting to various team styles — can take months, but that’s the fun part of the journey.
